How to Change Pag-IBIG Status from Employed to Individual Payor – Are you a VA (Virtual Assistant), Home-based contractor, or self-emloyed who is previously employed by a local Filipino company. Then this is the guide for you! I just recently changed my Pag-IBIG Status from Employed to Individual Payor and what I thought to be a simple MEMBER’S CHANGE OF INFORMATION FORM (MCIF) turns out to a bunch of other additional steps.
Why Change Your Pag-IBIG Status?
When you switch from being an employee to an individual payor or self-employed, your employer will no longer handle your Pag-IBIG contributions. Updating your status ensures:
- Your contributions are accurately recorded.
- You avoid penalties for missed payments.
- You remain eligible for Pag-IBIG benefits like Short-Term Loan, Housing Loan, Calamity Loan and other services.
Step-by-Step Guide to Change Pag-IBIG Status from Employed to Individual Payor
Step-by-Step Guide to Change Pag-IBIG Status from Employed to Individual Payor
- Step 1: Prepare the Required Documents
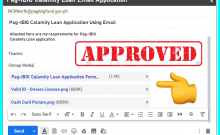
– Pag-IBIG Member’s Data Form (available at the branch or downloadable online).
– Valid ID (e.g., passport, driver’s license, UMID, or any government-issued ID).
– Proof of Income (if applicable, such as BIR Form 2316 or latest payslip).
– Proof of Change in Employment Status (e.g., resignation letter, certificate of employment, or business permit if self-employed). - Step 2: Visit the Nearest Pag-IBIG Branch
Locate the nearest Pag-IBIG branch using their official branch locator. Bring all the required documents and fill out the necessary forms at the branch.
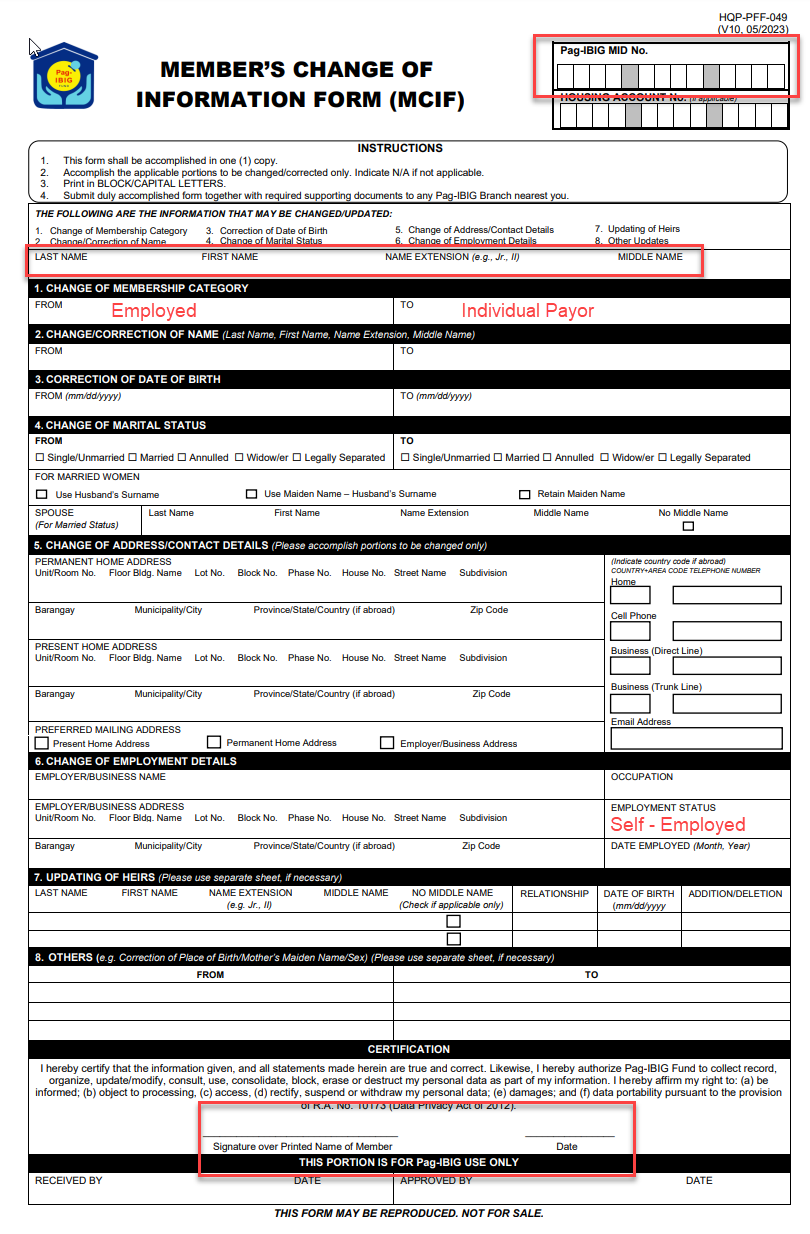
- Step 3: Ask for the Member’s Change of Information Form (MCIF)
The Member’s Change of Information Form (MCIF) allow you to change your Membership Category and Employment Status.
- Step 4: Fill up the Member’s Change of Information Form (MCIF) details below

- Step 5: Explain to the Pag-IBIG personnel that you are now self employed and you want to pay your own Pag-IBIG contributions monthly.
This is a crucial. Don’t just give the form to the counter. You must explain your current situation because this will prompt them to direct you to the next steps to complete the whole process. After this step, you should now be a self-employed Pag-IBIG member but you must to the final steps below to be an Individual Payor.
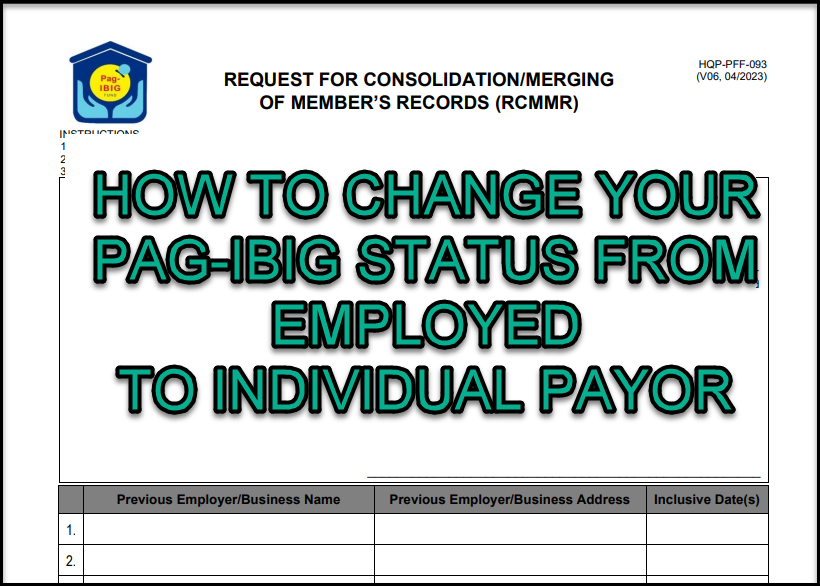
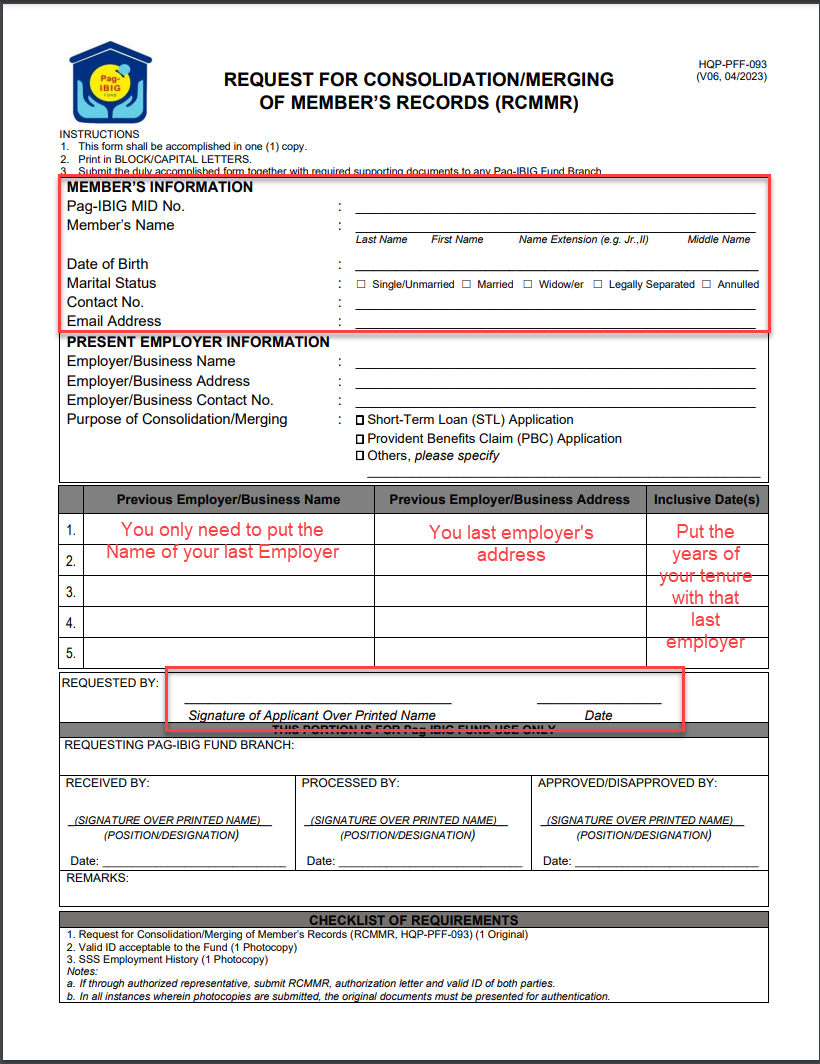
- Step 6: They will ask you now to fill up the REQUEST FOR CONSOLIDATION/MERGING
OF MEMBER’S RECORDS (RCMMR) form
After explaining your concern, they should now ask you to fill up the “REQUEST FOR CONSOLIDATION/MERGING OF MEMBER’S RECORDS (RCMMR)” form. What this form does is to consolidate or merge the payments from your last employer under your name. The contribution payments you will do from now on will also reflect under your name. Here’s what it looks like and what you need to fill up.
- Step 7: Pay for a Pag-IBIG contribution (Final Step)
They will ask you to pay for a minimum of ₱ 200.00 which will also be your contribution for that month. The payment is required to quickly overwrite the contributions that is technically still under your previous employer.
How to confirm that you are now a Self-Employed Individual Payor Pag-IBIG member?
You can confirm that Pag-IBIG successfully updated your Membership Category logging into your Pag-IBIG virtual account. Check out the screenshots below for the comparison.


FAQs About Changing Pag-IBIG Status
1. Can I change my Pag-IBIG status online?
Currently, you need to visit a Pag-IBIG branch to update your status. However, you can pay your contributions online once your status is updated.
2. How long shall I wait for Pag-IBIG to update my membership category?
The waiting time is seven business days
3. How much should I pay as an individual payor?
The monthly contribution rate is 2% of your monthly income, with a minimum of ₱100 and a maximum of ₱200.
4. What happens if I don’t update my status?
Failure to update your status may result in missed contributions, penalties, or disqualification from Pag-IBIG benefits.
5. Can I revert to employed status if I get a new job?
Yes, you can update your status again when you become employed. Your new employer will handle your contributions.
Conclusion
Changing your Pag-IBIG status from employed to individual payor is a straightforward process, but it’s crucial to ensure your contributions are up-to-date. By following this step-by-step guide, you can avoid penalties and continue enjoying the benefits of your Pag-IBIG membership. If you have further questions, don’t hesitate to visit the official Pag-IBIG website or contact their customer service.


Tell Us What You Think